As I constantly insist that everything cooked and prepared at home in your kitchen is always a better and cleaner choice. You will know for sure what’s in it and you will have the freedom to choose the best ingredients for your taste.
This is one of those recipes that you don’t really think about making at home every day because you have this idea that it is really hard to do, but in fact it is very simple with less than 5 ingredients in it. The process is very easy also and you can prepare a big batch and store it for later use.
Now the idea of preparing those spinach tortilla came to me after I saw those green beautiful wraps in some restaurants recipes and they looked amazing so I went by the store to buy some and to I was shocked when I flipped to read the ingredients in the back.
I faced two problems when I went to buy them from the grocery store: Sugar, palm oil, and some stuff I couldn’t even read …. I was like wwwhaat! It is tortilla bread! a simple tortilla with flour and water that what I thoughts it is at least! And I kept searching even in the “healthy” section and I couldn’t find anything with simple ingredients and the price tags was just a little bit too much for a pack of 6 wraps!
So the store bought ones were very expensive and not so clean with a lot of additive to make them look more green or to make them stay lean for a longer time or to extend their shelf life , for too many reason that I can live without and save my body from.
For all those reasons I decided to start the mission of cooking my own green tortilla wraps especially now that I am preparing a clean eating program for a month to start doing.
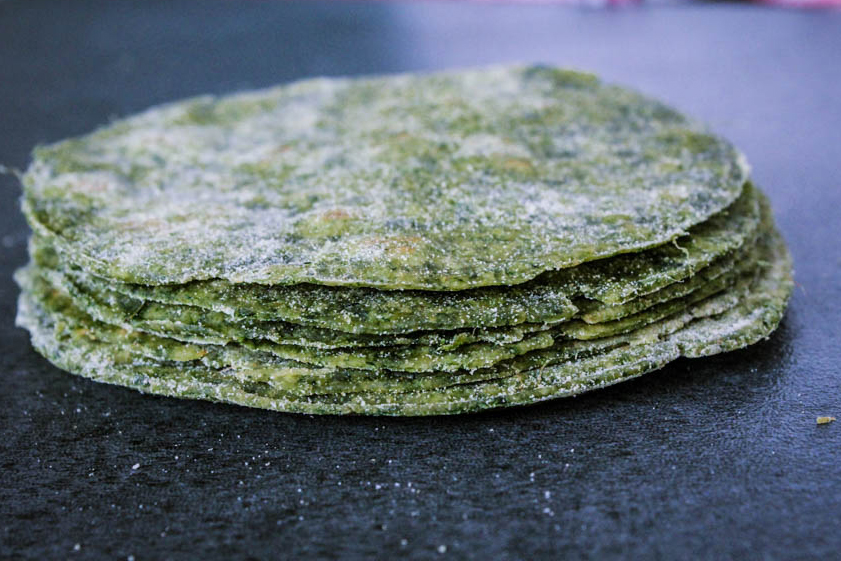
I intend to also try a green kale version later on, and start playing with the colors and flavors of those wraps. But for now I tried the spinach traditional recipe to see how it goes and it went great this why I am sharing it with you guys!
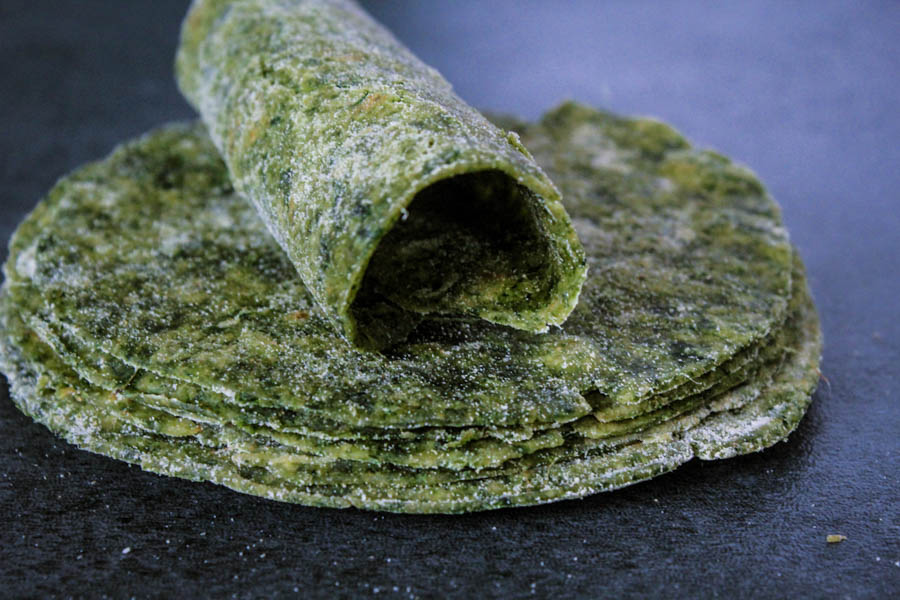
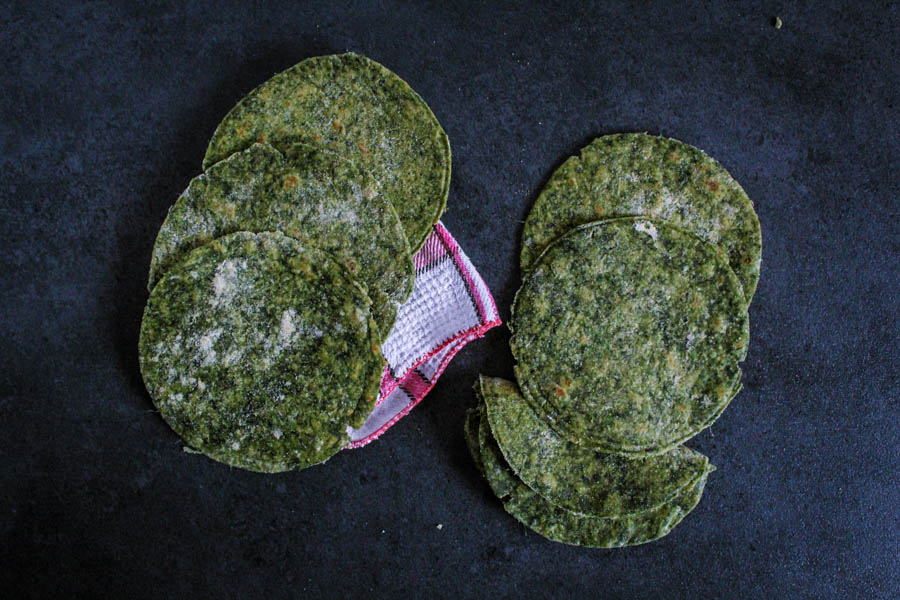
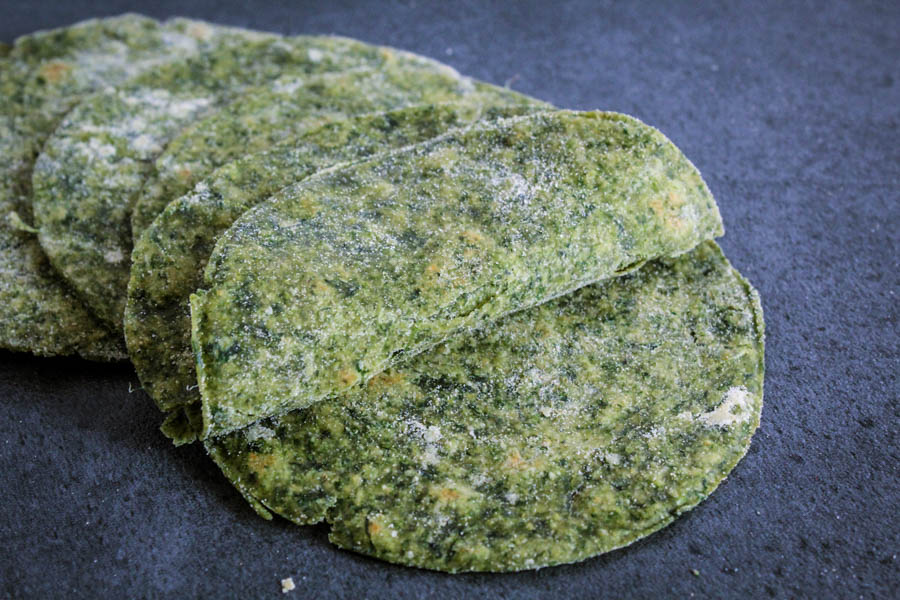
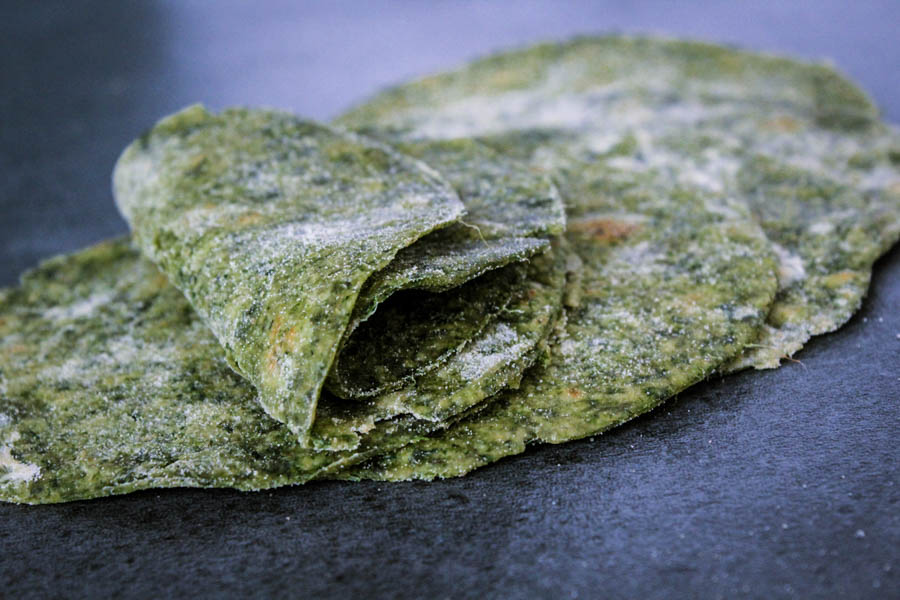
Those are really easy to make with no complicated ingredients and easy to store in the freezer or fridge for later use. They are pliable and very flexible to work with, even after you store in the freezer or fridge, just remove and preheat a little bit (10 seconds in the microwave or in the pan) and you can fill them with whatever you like and roll them up!
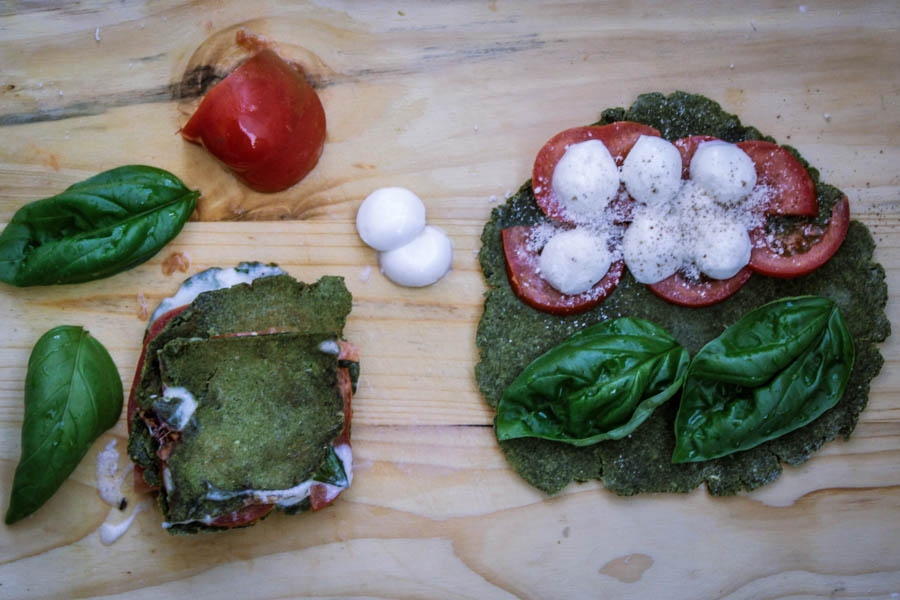
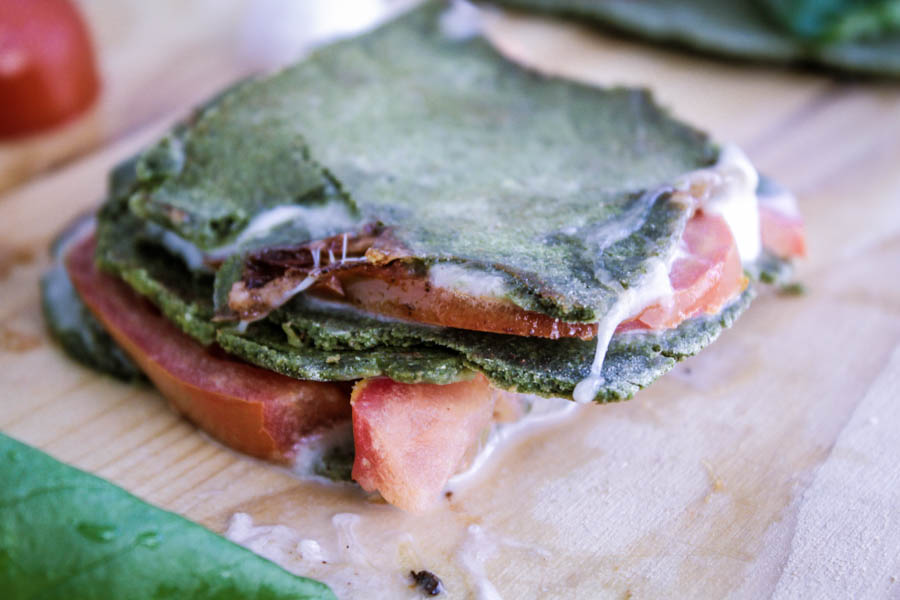
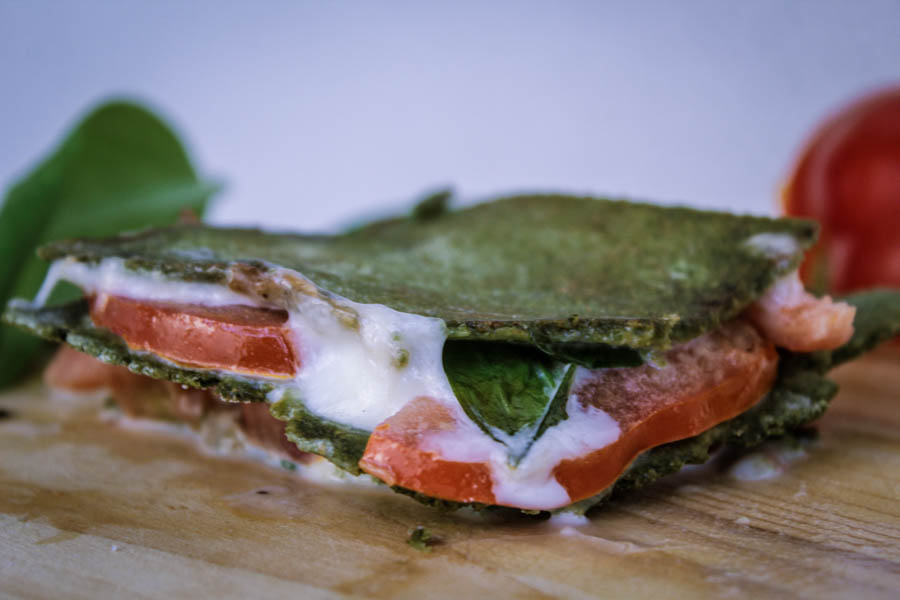
I enjoyed it with some tomato slices and fresh mozzarella balls with some fresh basil leaves and some grated parmesan on the top, I wrap it and grilled it till the cheese melted and have it for dinner, and it was amazing. And of course I won’t be just satisfied with just one recipe for those beautiful green wraps I will be sharing more recipe with it to enjoy with family and friends.
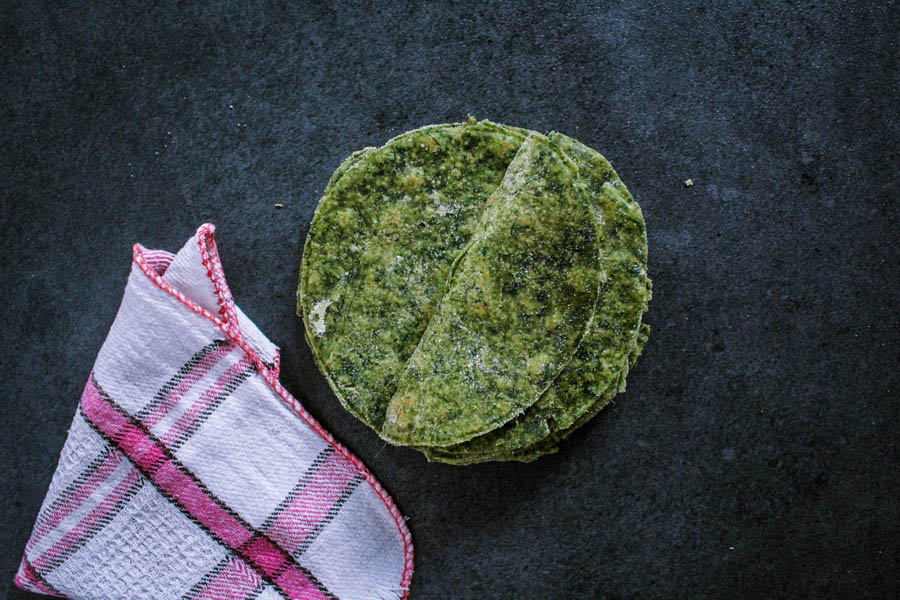
Green Tortilla Wraps (spinach version):
Serve 6-7 wraps
INGREDIENTS:
- 3 cups packed fresh spinach leaves, washed and drained. *
- ¼ cup of water
- 1 cup whole wheat flour
- ¼ tsp. baking soda
- 4 Tbsp. olive oil
- ½ tsp. salt
- ¼ tsp. freshly grounded nutmeg
INSTRUCTIONS:
- In a pan, cook spinach with water until soft
- Drain water from the spinach and set that water aside.
- Pour the spinach into a high speed blender and pulse until smooth
- In a deep bowl, add the flour with the baking soda, olive oil, salt, nutmeg and the spinach puree and mix all well till you a crumbly dough.
- Add the spinach water gradually 1 Tbsp. by 1 Tbsp. until you have a dough.
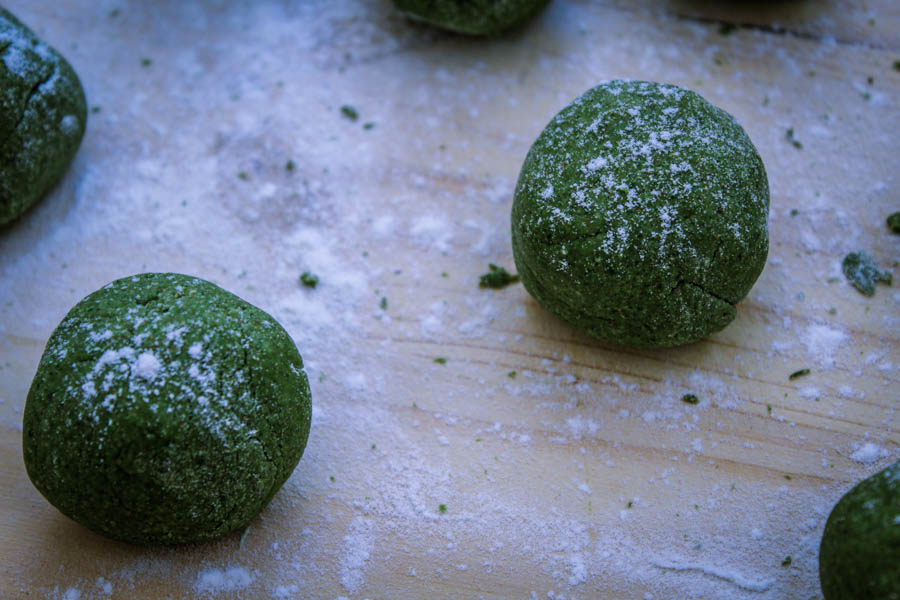
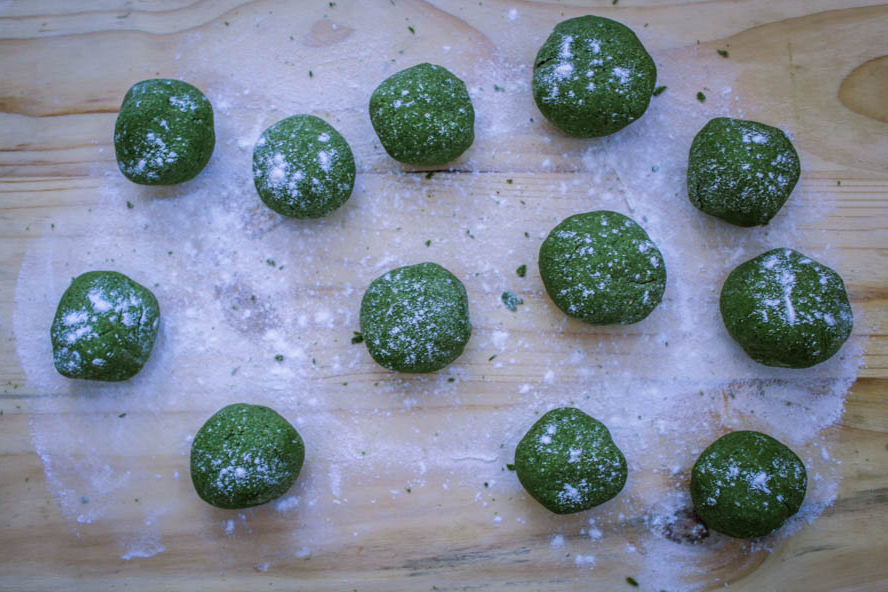
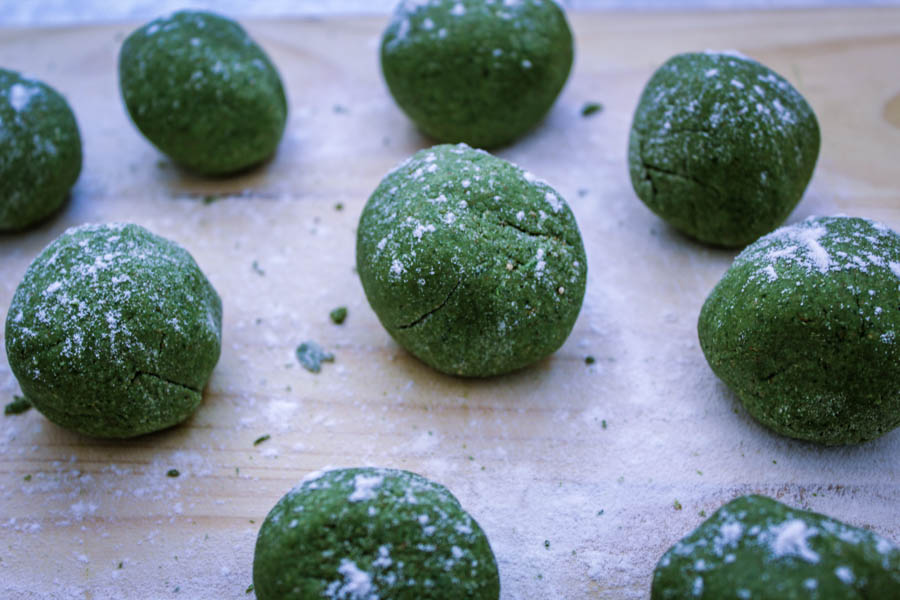
- Roll out the dough into a cylinder, and divide it into 6 equal pieces.
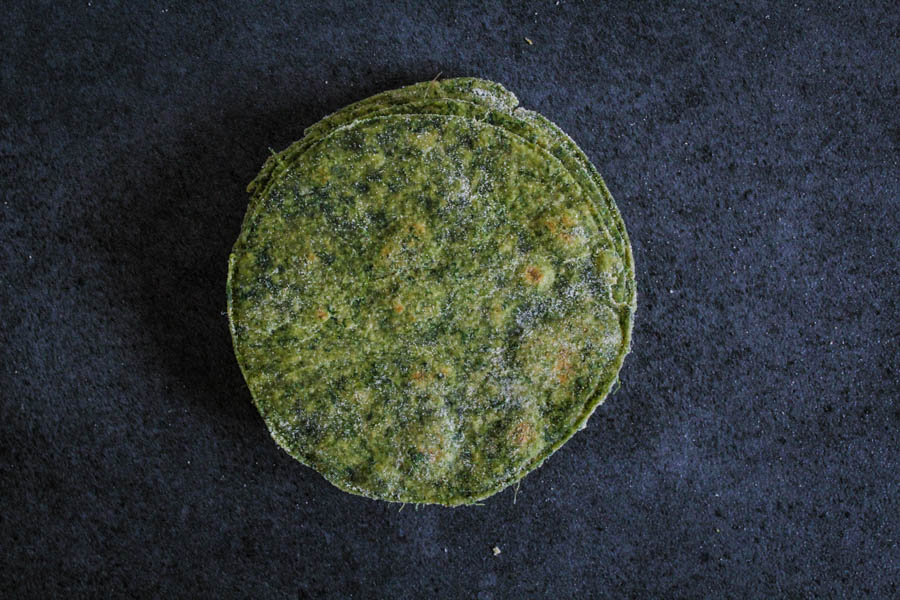
- Dust your working top with some flour and roll out each piece till you have a 15 cm diameter circle. **
- Heat a non-stick pan on medium heat and toast each side of the wrap for 45 seconds till golden bubbles appear.
- Serve and enjoy! ***
NOTES:
*you can use frozen spinach in place of the fresh ones, to substitute 3cups of fresh spinach =1/2 cup of frozen spinach= 130 g frozen spinach. Use this ratio to substitute from fresh to frozen and vice versa.
** for an easier and much cleaner circle wrap I always use a fruit plate or something similar with a diameter of 15 cm and I roll out the wrap and top with the plate and cut the sides with a pizza slicer in this way I remove the uneven edges and I have a perfect circle. Plus, the extra crumble removes from each wrap allows me to make an extra wrap at the end. It is a win/win case.
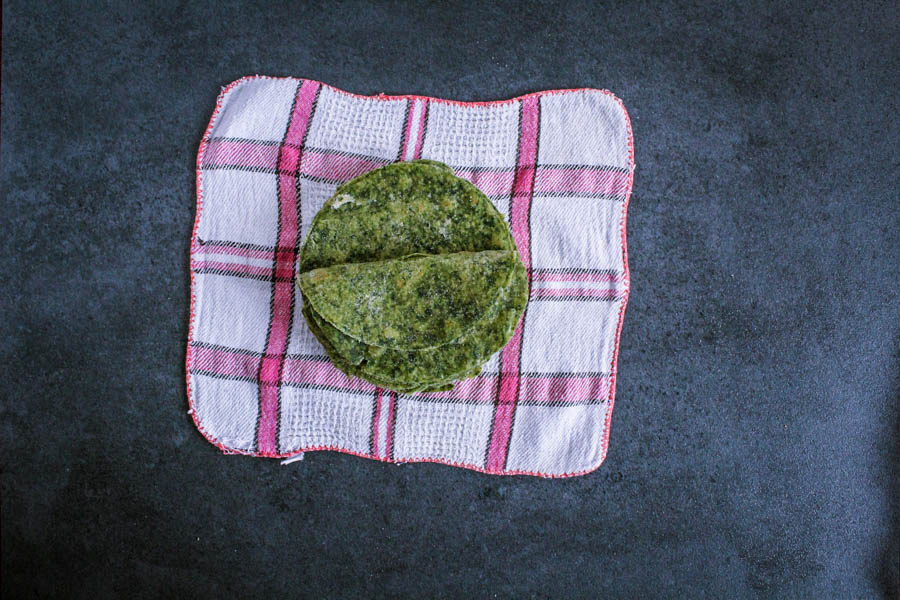
*** while I am baking the wraps I cover the baked one with a clean kitchen towel till I am done, I let them sit cover till they are cool enough and I pack in a zip lock bag with parchment paper between each two . I store in the fridge for 2 weeks and in the freezer for up to 3 months.
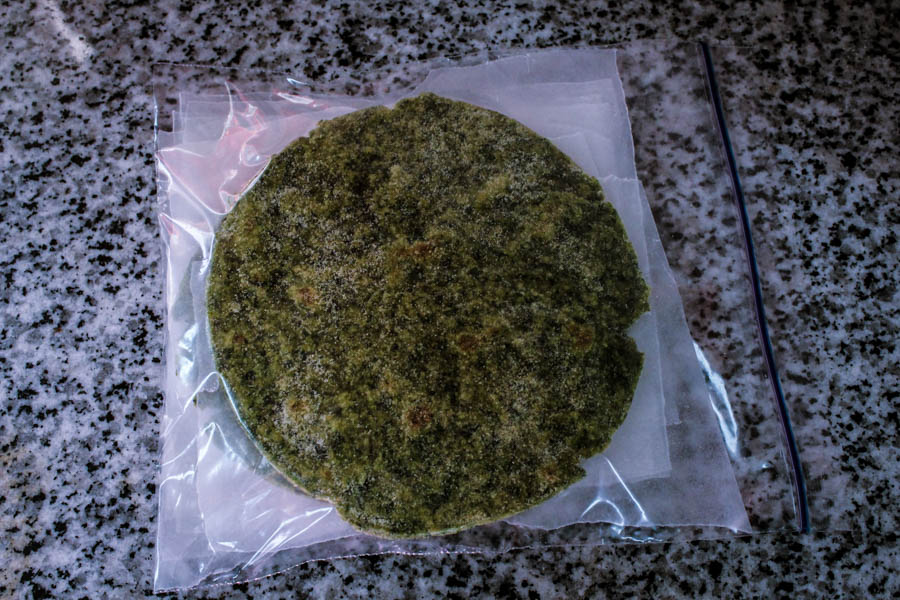
**** Whenever I want to use I remove from freezer and preheat in microwave on in the pan for ten second to be flexible to wrap again.