I have been feeling like some sushi for couple of days but my favorite takeout isn’t an option first because of the current situation #covid19 and secondly and must importantly as you all know I’m very pregnant ,so raw meat is not an option…so homemade it is!
Making sushi at home is actually easier than you think and you don’t have to buy all the sushi kit to prepare it, just with simple tools and ingredients you have in hand you can make the most delicious homemade cooked sushi and feed those cravings.
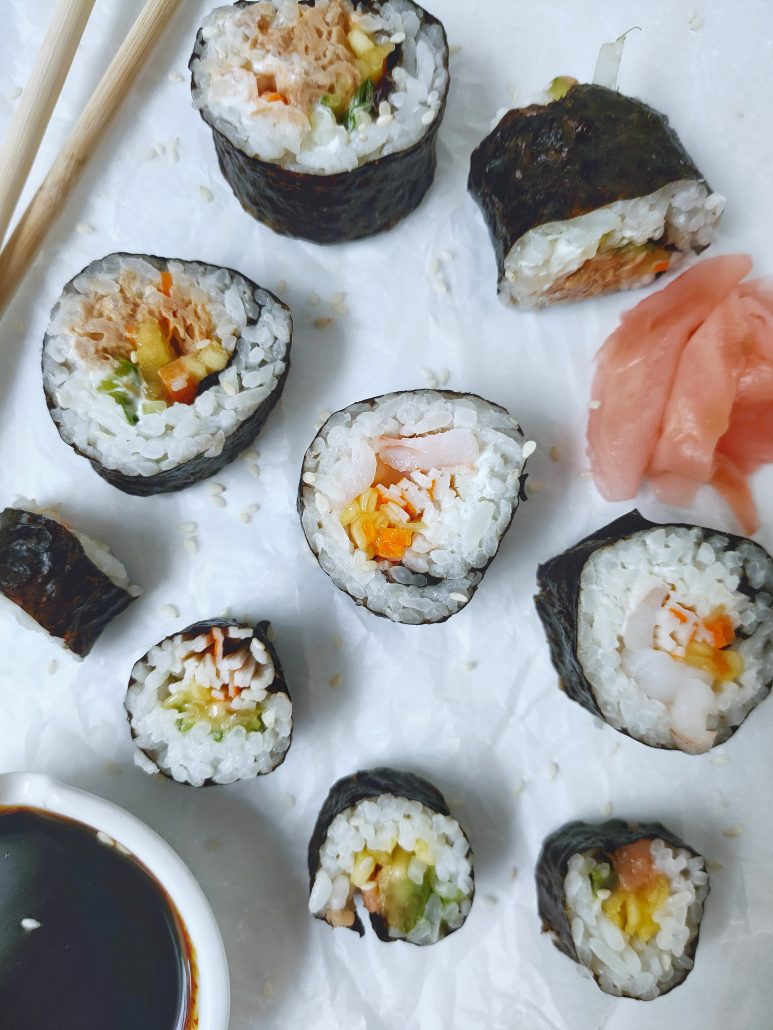
Here’s what I used for my homemade cooked sushi rolls:
– nori sheets
– cooked short grain rice
– julienned veggies (cucumber, carrots, Avocado, spring onions and mango)
– cooked shrimp and salmon
– tuna can mixed with some spicy mayo sauce
– cream cheese
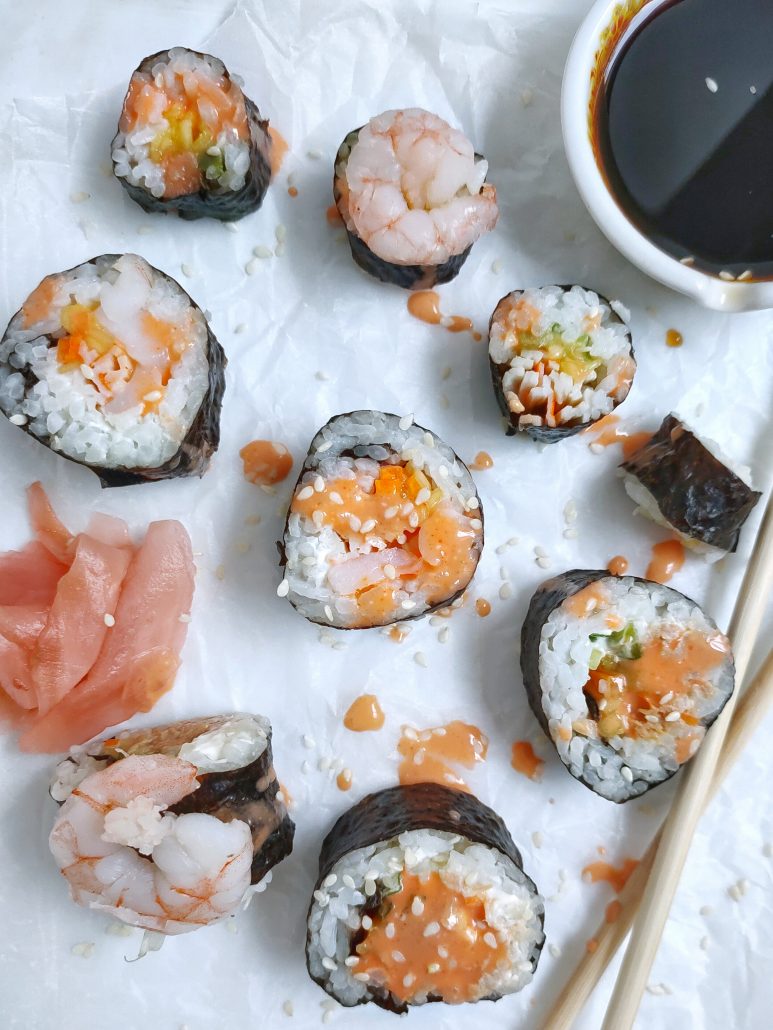
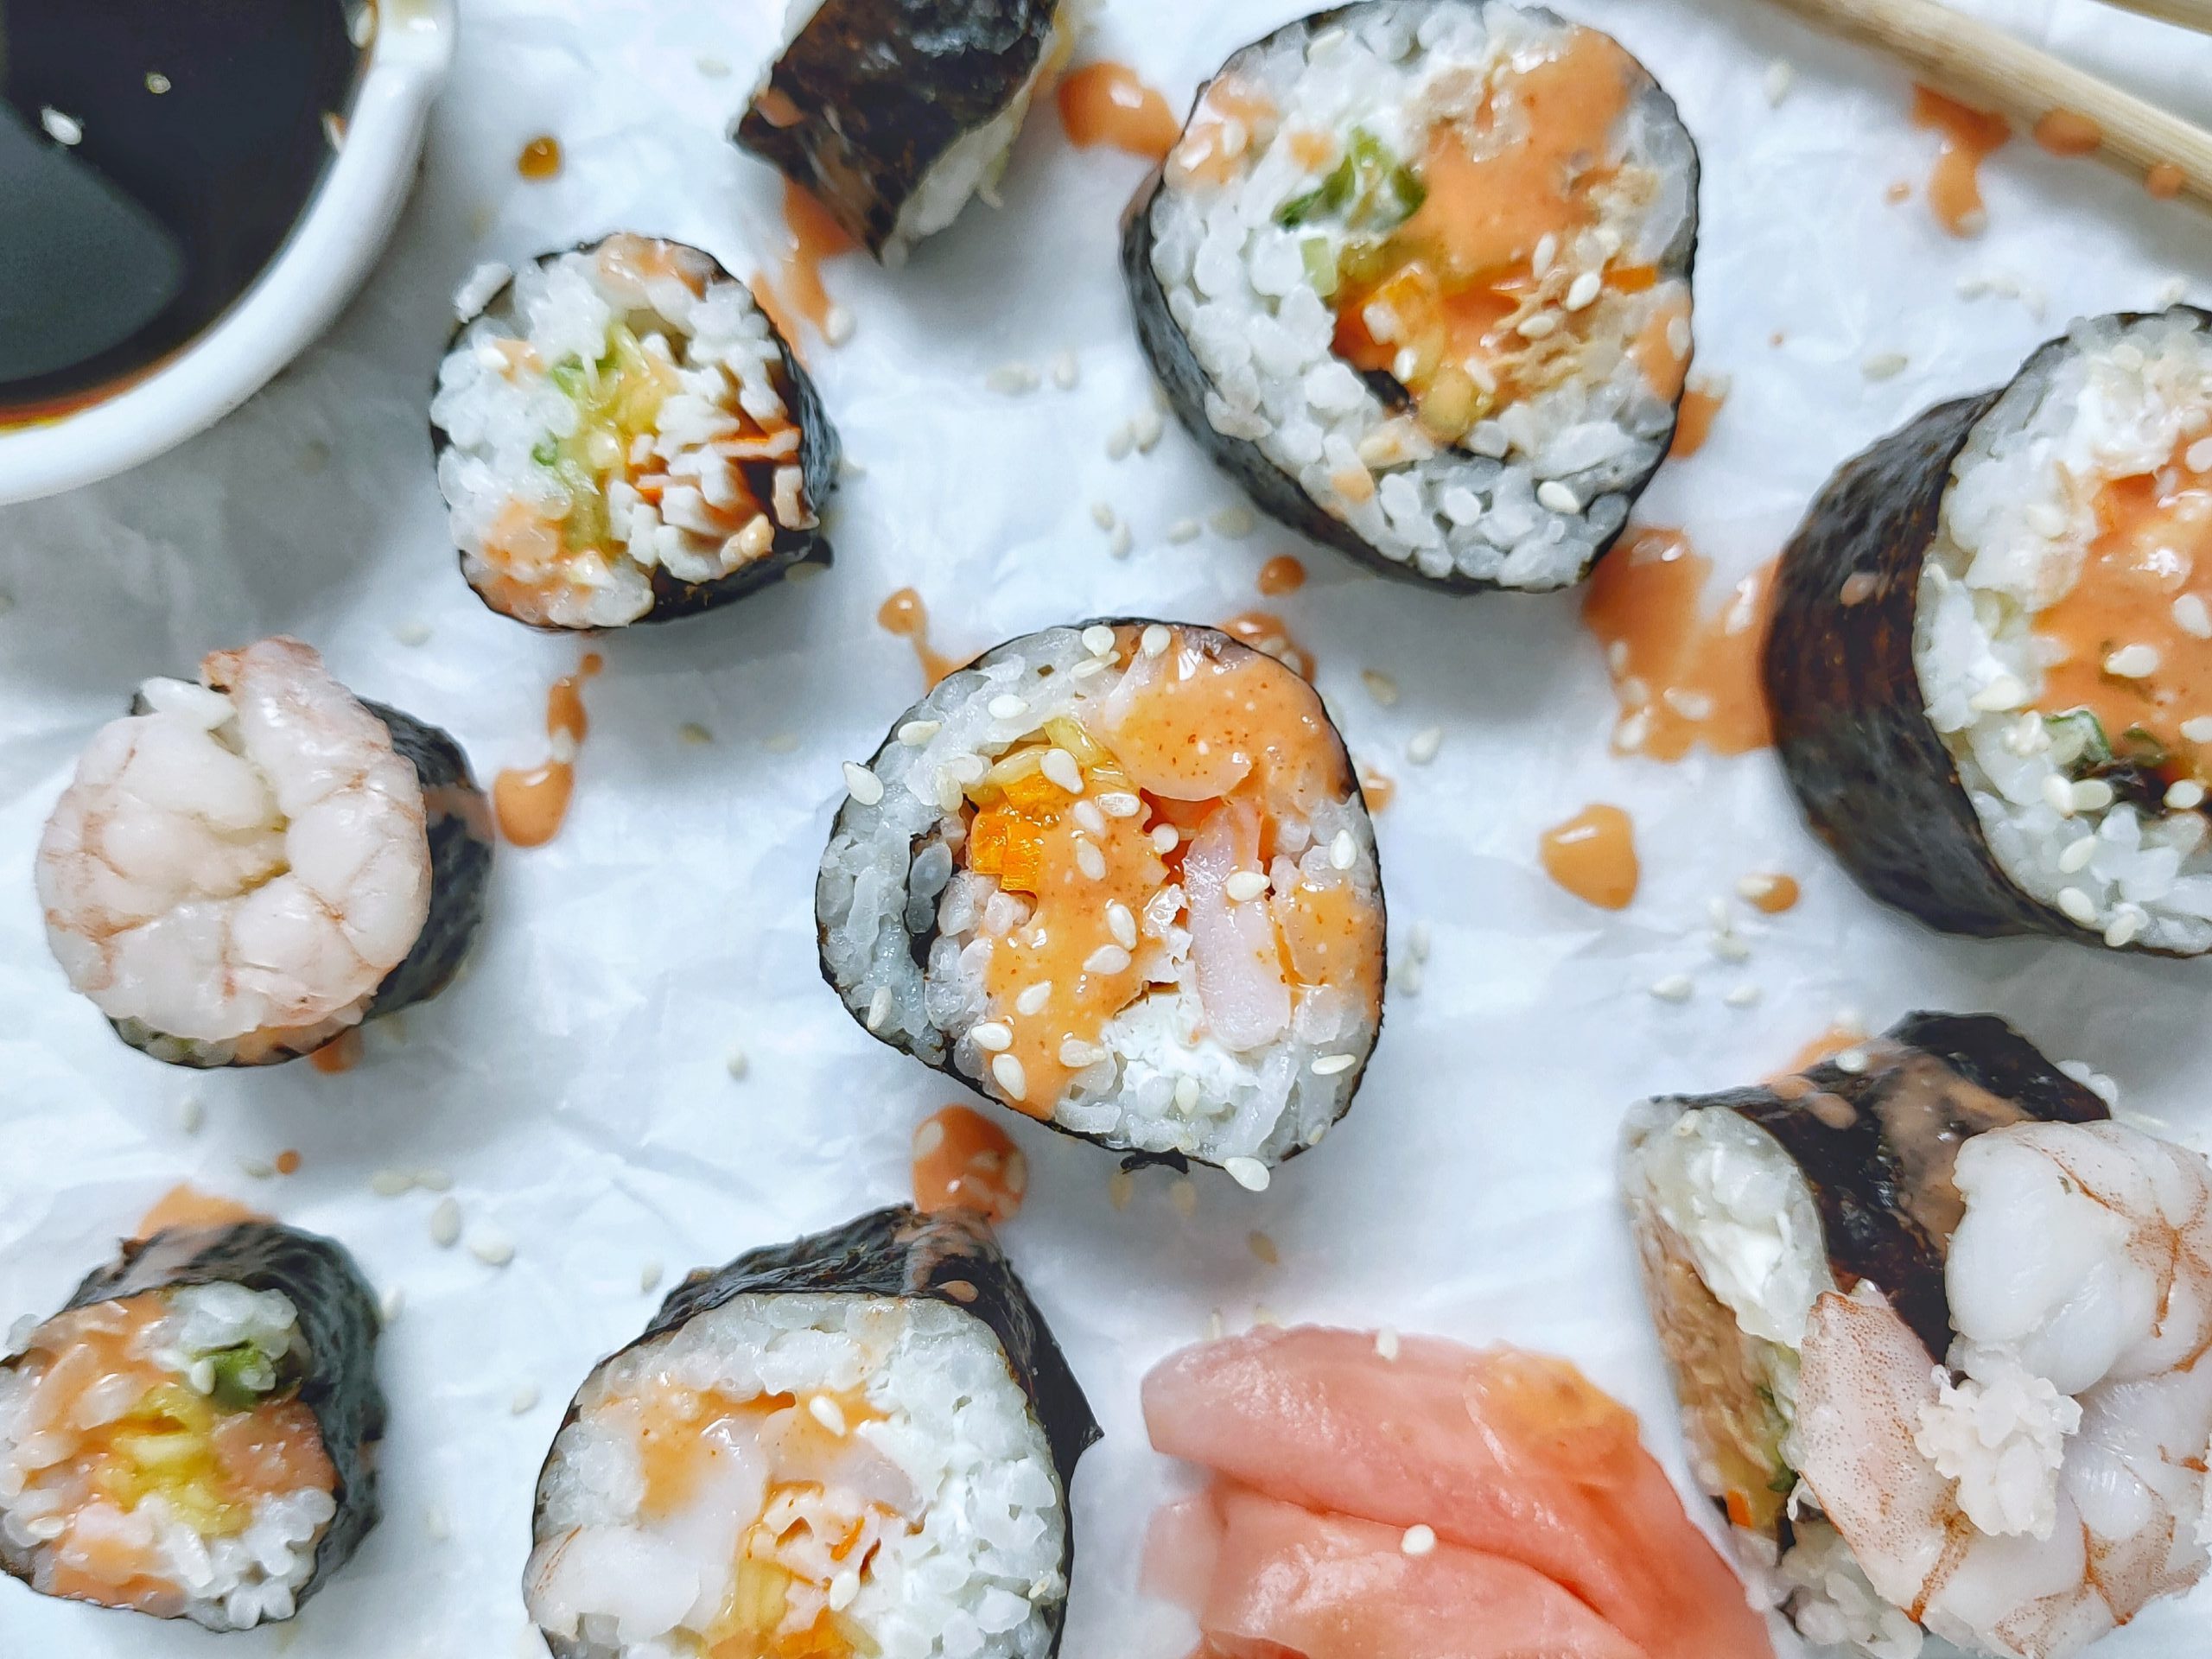
Dipped in some soy sauce and enjoyed with some pickled ginger. I prepared it in just an hour with no sushi mat or special equipment in hand. It is way healthier than takeout and honestly veryyyy delicious and satisfying!

Preparation is the secret in making sushi at home. There is three essential steps of preparation to make your sushi making party easy:
THE RICE: you just need to prepare your rice the right way and you don’t have to buy special sushi rice, any short grain rice can do the trick. prepare your rice first because it needs the most time and needs time to cool down so you can use.

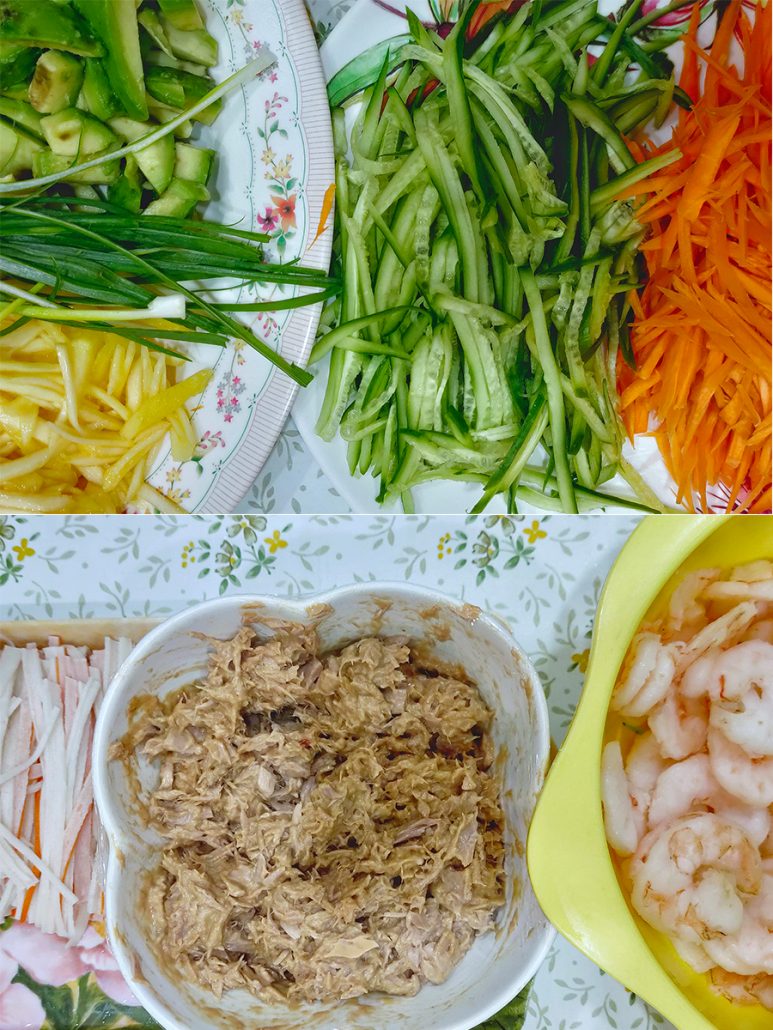
THE FILLINGS: I am going to show you few simple filling that are cooked , perfect for your pregnancy meals and that is guaranteed that all the family will love, even those who doesn’t like sushi. I made crab,shrimp,salmon and a very special delicious tuna filling. There is no wrong way of filling your sushi , you can mix and match to your liking.
THE VEGGIES: chop and prepare all your veggies. I like to julienne all the veggies that I will use , it will be easier to wrap the rolls with.
ADDING: I used some extra seasonings and adding like cream cheese, Japanese or normal mayo, some sriracha sauce and soy sauce.
Once you prepare all your ingredients you are ready to go !
Now let us talk sushi tools and kit ! usually sushi making need some few special kits , but what if you are craving some in these days and you can’t just go and buy stuff easily , no worries, I am going to show you how to roll those bad boys with only just any kitchen towel you have in hand and some cling film. Yes! you heard right! NO SUSHI MAT NEEDED AT ALL!
so let us start with the preparations shall we!
Homemade Cooked Sushi Rolls (no sushi kit needed)
Ingredients
For the rice:
- 500 g short grain rice (we call it Egyptian rice)
- 4 tbsp rice vinegar (I use also white vinegar)
- 2 tbsp palm sugar (or any sugar you have)
- 2 tsp salt
- 3 cup water (for cooking the rice)
for the veggies:
- 1 medium avocado , cut into thin slices
- 1 medium firm mango, cut into thin slices
- 1 big carrot, julienned
- 1 big cucumber, julienned
- 2 spring onions, cut into ribbons
for the fillings:
- 1 pack imitation crab meat sticks
- 250 g cooked shrimp, slice in half
- 250 g salmon fillet, cooked
- 1 bowl spicy tuna filling (recipe below)
for the spicy tuna filling:
- 1 can white tuna
- 1 tsp sriracha hot sauce
- 2 tbsp Japanese or normal mayonnaise
- 1 tsp Worcestershire sauce
- 2 tsp low-sodium soy sauce
- ¼ tsp chili powder
- 1 tsp sweet paprika
additional ingredients:
- cream cheese
- soy sauce
- ginger pickles
- Nori Seaweed Sheets
Instructions
for the rice:
- STEP 01: start by washing your rice thoroughly and draining several time until the water clear out and it is not milky . after washing for 5 6 times, let it soak in water for 10 minutes, than drain in a strainer and let it drain for 10 minutes.
- STEP 02: put your rice in a pot, add the water . don't add any salt or seasonings at this point. bring the mixture to boil, let it boil for 5 minutes and than lower the heat cover the pot and let it simmer for 12 minutes. after the 12 minutes are done , LEAVE THE POT COVER , turn of the heat and let the rice set for 15 minutes.
- STEP 03: while the rice is cooking , prepare the rice seasoning. in a small bowl, mix the vinegar,sugar and salt and whisk till everything is dissolved. set aside.
- STEP 04: after the rice is set for 15 minutes, spread it in a wide tray in one layer to cool down a little bit before adding the vinegar mixture . let it cool for 5 minutes than add the sprinkle the vinegar mixture above it all and mix with wooden spoon until all the rice is seasoned. spread in one layer and let it cool down while we prepare the veggies. the rice need to be completely cool to use.
for the veggies:
- just wash and cut all your veggies and set aside in a plat ready for rolling.
for the filling:
- prepare and cook all your filling and set aside to cool completely before rolling.
for the spicy tuna filling:
- and a deep mixing bowl, add your tuna with all the other ingredients and mix with a fork until everything is covered and smoothly mixed. set aside.
prepare your rolling mat:
- bring any square or rectangle clean kitchen towel wrapped it well with some cling film. you can use it as your sushi mat for rolling the sushi easily.
for assembly:
- STEP 01: put your Nori sheet on the rolling towel. the shiny side down. if you notice there is sort of rib lines in the nori sheet , you are going to spread your rice perpendicular to these ribs.
- STEP 02: set a bowl of some rice vinegar mixed with water beside you. wet your finger in it and spread the rice into very thin layer on the nori sheet pressing the rice firmly . leaving around 2 cm on both edges of the nori empty without rice.
- STEP 03: add a line of your meat filling with some veggies slice and some cheese if you want to the center of the rice. Roll up the towel mat, starting with the side with the rice and filling are. You have to roll it tight enough that the rice feels condensed, but not so tight that the filling mixture spills out or the nori sheet breaks, be gentle and slow. You’ll get the hang of it after doing it a couple of times. Keep rolling until there is only a bit of nori left visible.
- STEP 04: Wet your fingers and run them across the inside edge of the nori sheet. This will seal the end of the roll. Keep rolling and delicately remove the towel mat.
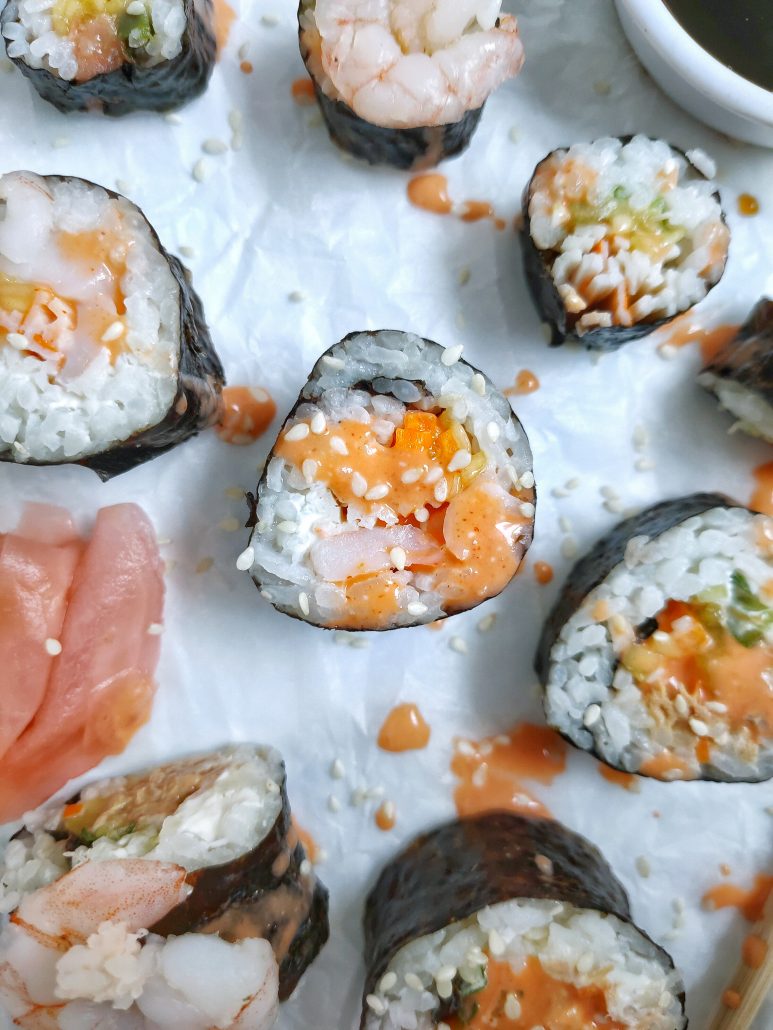
- STEP 05: Wipe a sharp knife with a wet cloth and cut the roll into bite size pieces. wipe your finger after each cut you make, to keep your cuts clean and sharp.WATCH THE VIDEO BELOW FOR THE COMPLETE PROCESS
- STEP 06: store in fridge while you finish all the rolls and serve with some soy sauce, ginger pickles , wasabi and sriracha sauce aside, enjoy!
my filling combination suggestions :
- – Shrimp, cream cheese, cucumber – Shrimp, avocado, cucumber, sriracha sauce– shrimp, salmon, avocado, cucumber. – imitation crab meat, cream cheese, cucumber, carrots – imitation crab meat, avocado, mango, spring onions– imitation crab meat, cucumber, avocado, sesame seeds– salmon, cucumber, avocado, sprinkle of sesame seeds– salmon , soy sauce, mango– salmon, avocado, cream cheese, spring onions – spicy tuna, cream cheese, spring onions– spicy tuna, mango, avocado , carrots– spicy tuna, cucumber,spring onions – spicy tuna, salmon, avocado